Create and manage service provider accounts in LibraryH3lp
Create new account
Edit an existing account
Reset password
Delete an account
Create New Service Provider Accounts
- Login to the LibraryH3lp Dashboard with your institution’s admin account (e.g. kpu-admin)
- In the left-hand navigation menu, click Users

- Click

- Enter a Username according to the following format:
- institution-firstname-lastinitial (e.g. kpu-sadie-a)
- Enter a Password, re-type to match, then press next

- Enter an email address, then press next
- Adding an email address will allow the account user to use the 'forgot password' and 'forgot username' features
- Click to check the box for ‘Yes. Copy another user’s settings as a starting point’. Copying settings from a pre-existing user account is recommended
- When the box is checked, a drop-down menu appears where you can select a user to copy user settings from. Select a service provider (not a local coordinator) user to copy, then press next.
- Settings that will be copied include queue assignment (Step 8), canned message pools (Step 10), and the conference room (Step 11)
- You can start typing in the drop-down to search the list for users with your institution’s abbreviation, or by a specific user’s name

- Assign the appropriate queues for the user account. Use the searchable drop down menu to select the queues relevant to your institution, then click next.
- These may already be populated. Double check that the assignments are correct, then click next.
- Remember: proactive chat has a separate queue, ensure that this queue is assigned if applicable.

- For this step you will see the following screen. Press Next, these settings may be left as they are.

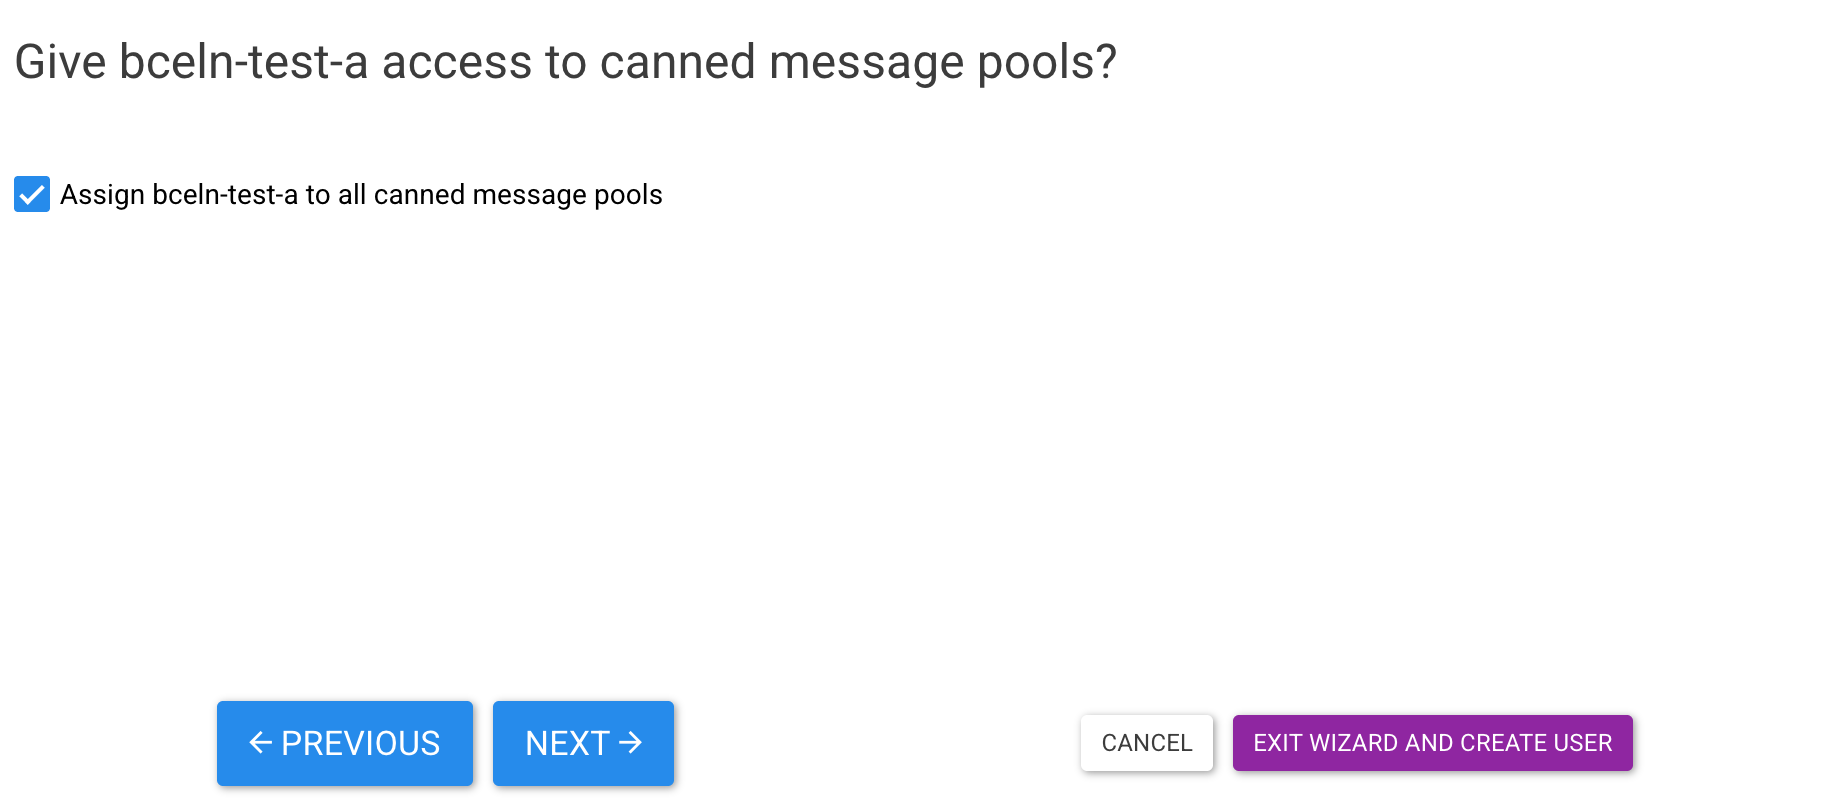
- Leave the box checked for 'Assign (user) to all canned messages pools' and press next.
- Institutional canned message pools are assigned automatically (if applicable) by copying settings from a pre-existing user.
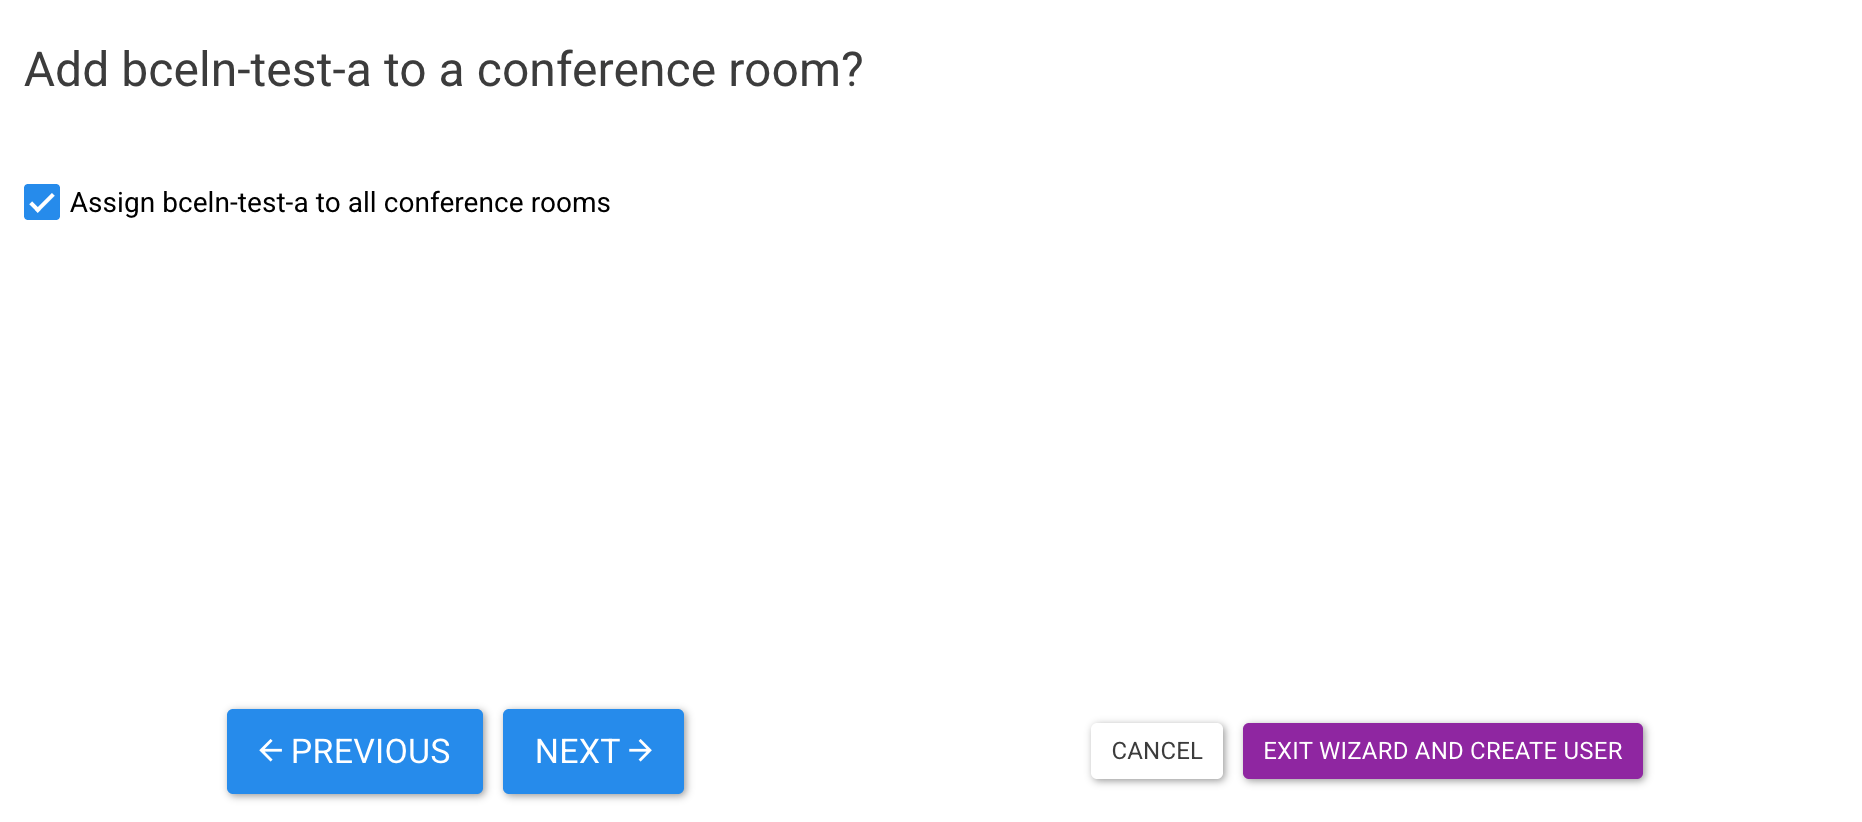
- Leave the box checked for 'Assign (user) to all conference rooms,' and click next.
- This will ensure they have access to the AskAway conference room and can chat with other service providers on-shift.
- Select
 . The wizard will take you to a summary page where a breakdown of the chosen settings is displayed, and changes can be made if need be.
Edit an Existing Account
-
Login to the LibraryH3lp Dashboard with your institution's admin account (e.g. kpu-admin)
-
In the left-hand navigation menu, click Users:
-
Use the search function to look up the user you wish to edit.

Here you can do the following:
To change account settings, select the gear beside the username: 
To change account the password, click the key beside the username: 
Reset Service Provider Passwords
- You can change a service provider password using the steps above for "Edit an Existing Account"
- If a service provider has forgotten their password, they can use the "Forgot your username?" or "Forgot your password?" option on the Webclient login page.
Delete Service Provider Accounts
- Login to the LibraryH3lp Dashboard with your institution's admin account (e.g. kpu-admin)
- In the left-hand navigation menu, click Users:

- Use the search function to look up the user you wish to edit.
- Click to check the box to the left of the user you wish to delete, then click the red trashcan button. Select ‘yes’ on the pop-up to complete the action.
